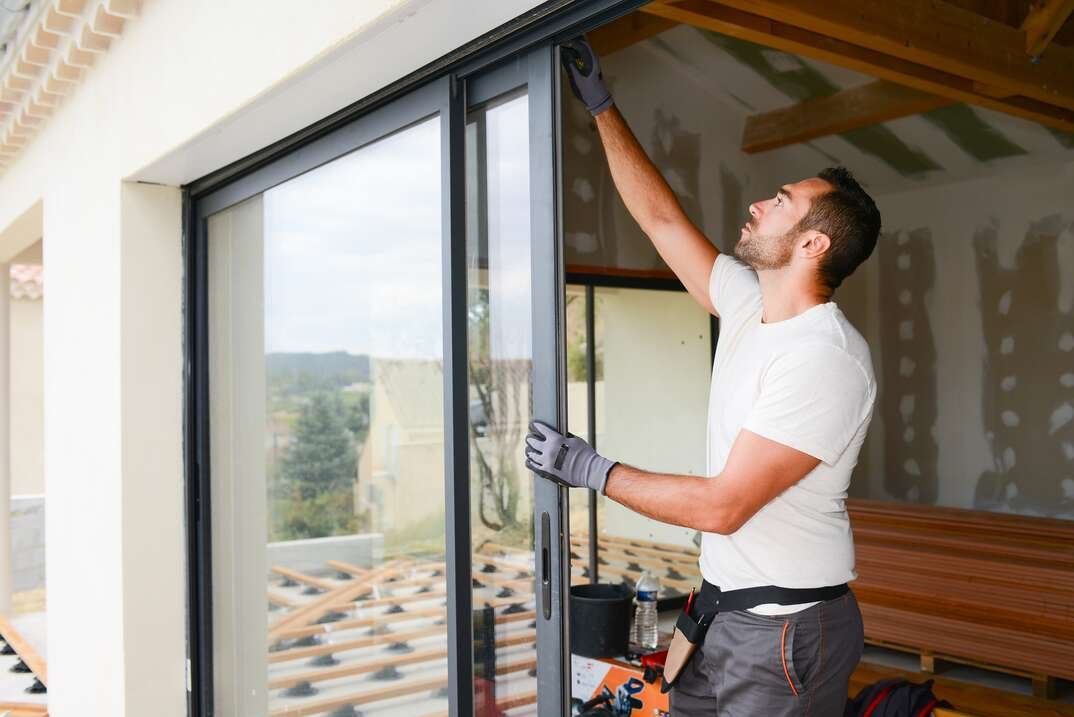
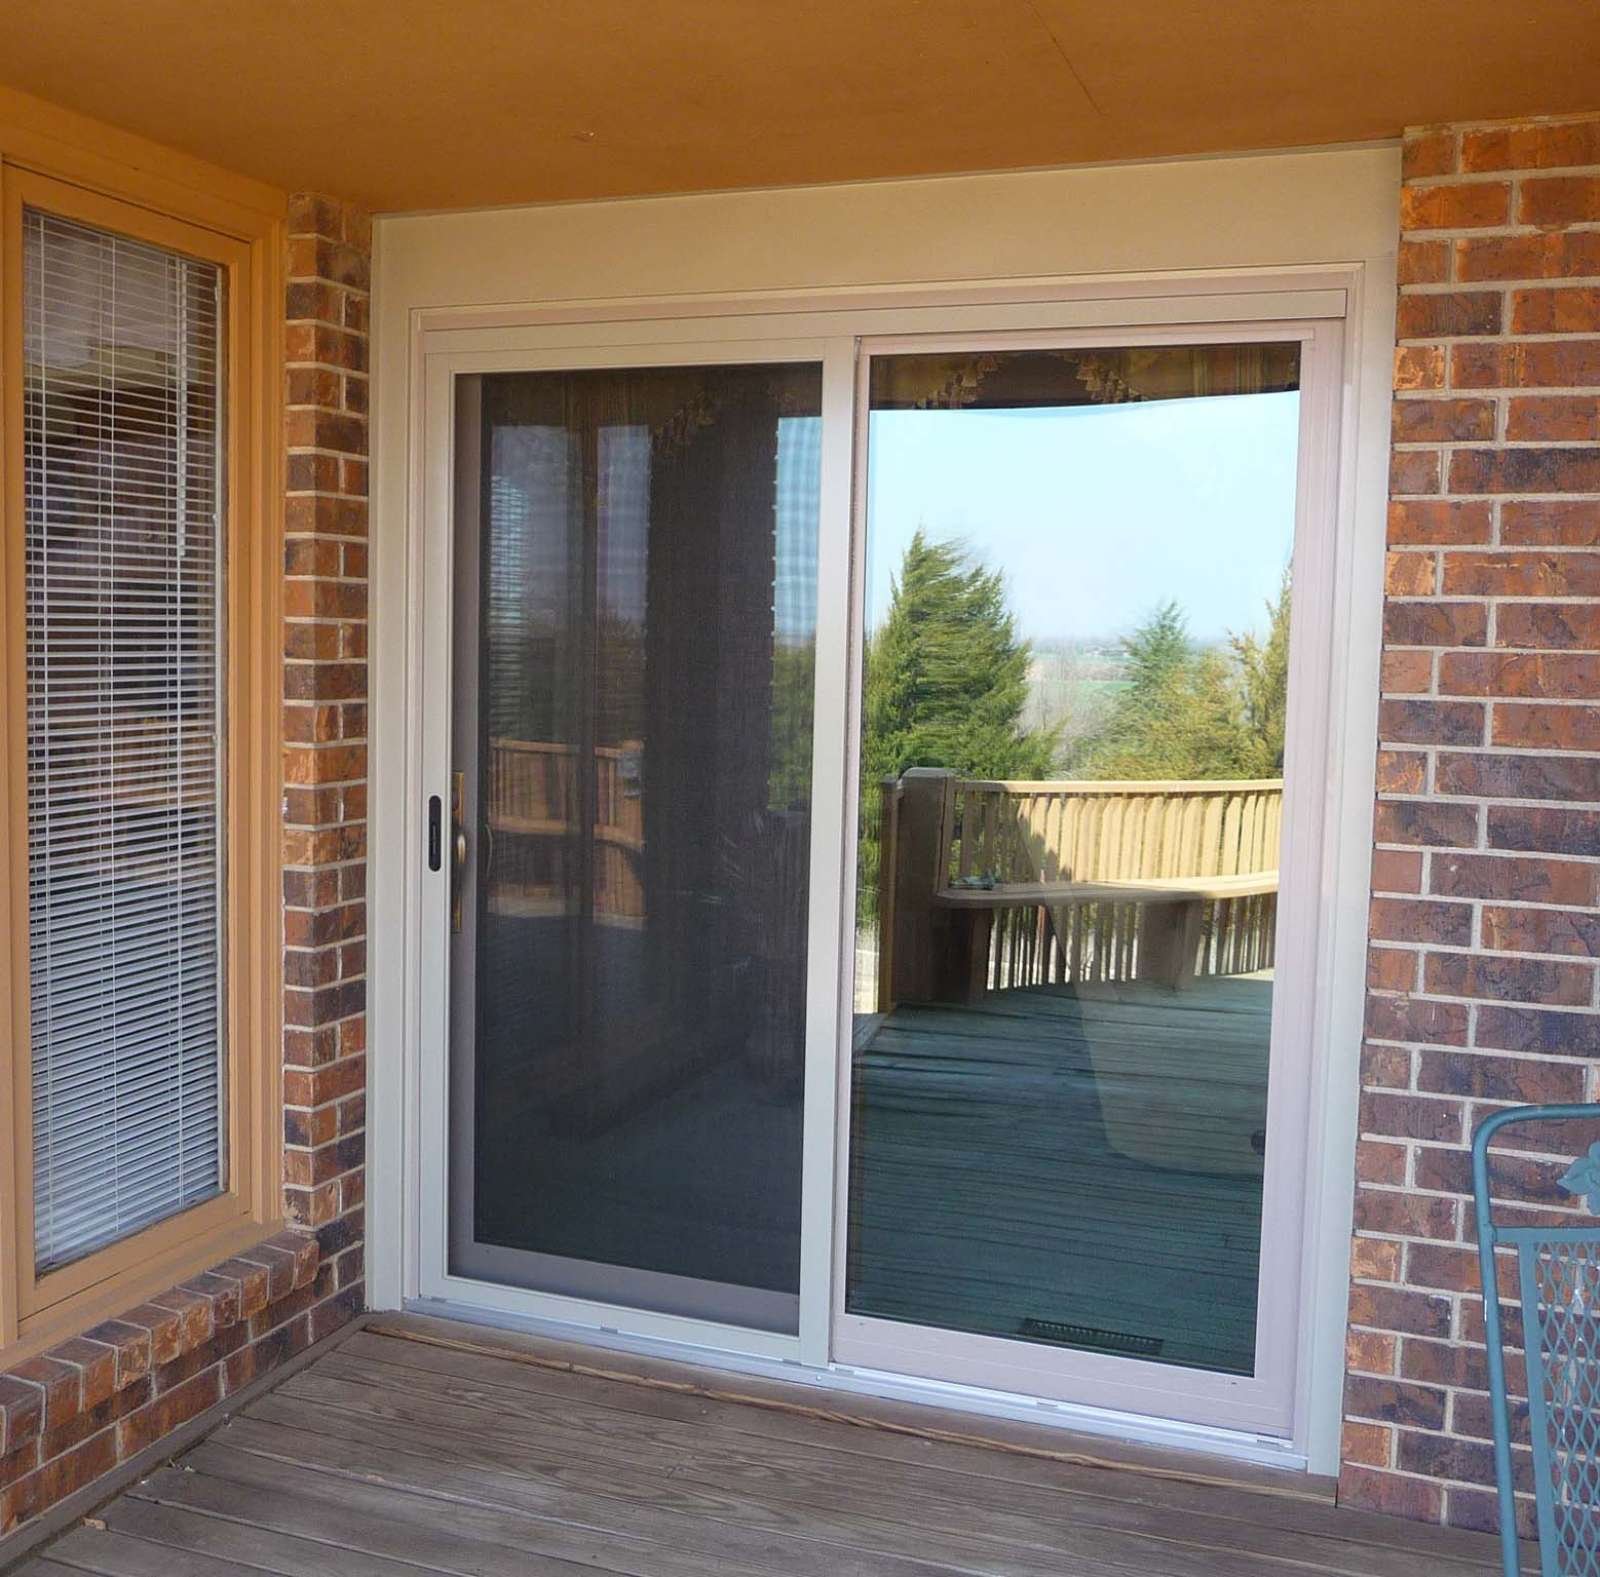
Installing sliding patio doors can be a great way to improve the look and functionality of your home. If you’ve been wondering how to install sliding patio doors, you’re in the right place! This simple, step-by-step guide will walk you through everything you need to know. Whether you’re replacing old doors or installing new ones, you can do it yourself with a little patience and the right tools.
Why Install Sliding Patio Doors?
Sliding patio doors are a popular choice for many homeowners because they save space, provide great natural light, and give easy access to outdoor areas. Installing sliding patio doors can also improve the energy efficiency of your home by using modern materials and features like insulated glass. Best of all, installing them yourself can save you money on labor costs.
Tools and Materials You’ll Need
Before starting the installation, make sure you have all the necessary tools and materials. Here’s what you’ll need:
- Sliding patio door kit (door frame, glass panels, hardware)
- Tape measure
- Level
- Drill and drill bits
- Screwdriver
- Hammer
- Shims
- Caulk and caulking gun
- Wood or masonry screws
- Utility knife
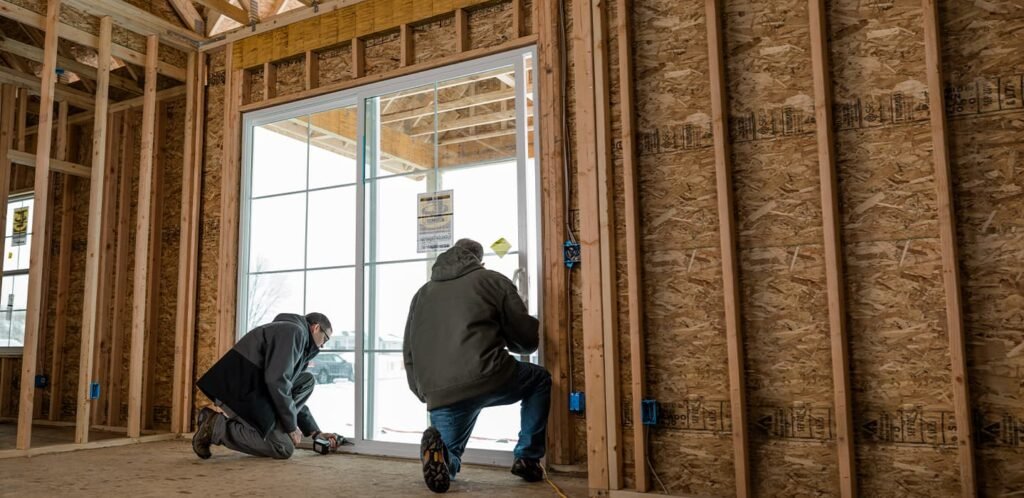
Step-by-Step Guide: How to Install Sliding Patio Doors
Now that you have your tools ready, let’s dive into the installation process. Follow these steps to install your sliding patio doors successfully.
1. Measure the Opening
The first step in how to install sliding patio doors is to measure the door opening. Use a tape measure to check the width and height of the opening where the doors will be installed. Make sure to measure at the top, middle, and bottom of the opening to ensure it is square. If the dimensions don’t match the size of the new sliding patio door, you may need to make adjustments to the frame.
2. Remove the Old Door (If Necessary)
If you’re replacing an old sliding door, you’ll need to remove it first. Start by removing the sliding door panels. Carefully lift the door out of the track and set it aside. Then, remove any trim or molding around the door frame. Use a hammer and pry bar to take out the door frame, if necessary. Make sure to clean the area and remove any debris from the old door installation.
3. Prepare the Door Frame
Once you’ve removed the old door, it’s time to prepare the new frame. Start by checking the new sliding door frame for any defects or damage. Next, apply a thin layer of caulk along the edges of the opening where the frame will sit. This helps create a watertight seal and prevents drafts.
4. Install the Door Frame
With the caulk in place, lift the new door frame into position. Ensure the frame is level and square within the opening. You can use shims to adjust the frame if needed. Once it’s properly aligned, use a drill and screws to attach the frame securely to the surrounding wall. Make sure to drive the screws into the studs for a strong hold.
5. Insert the Sliding Panels
Now it’s time to install the sliding door panels. Start by placing the bottom track into position within the frame. This track is where the sliding doors will rest and move. Next, carefully place the sliding panels into the bottom track. Once the panels are in place, lift them into the top track. Make sure they slide smoothly along the track before securing them in place.
6. Adjust the Rollers
To ensure the sliding patio doors move smoothly, adjust the rollers. Most sliding doors have adjustable rollers at the bottom of the door panels. Use a screwdriver to adjust the height of the rollers so that the door panels sit evenly and glide smoothly along the track.
7. Install the Handles and Locks
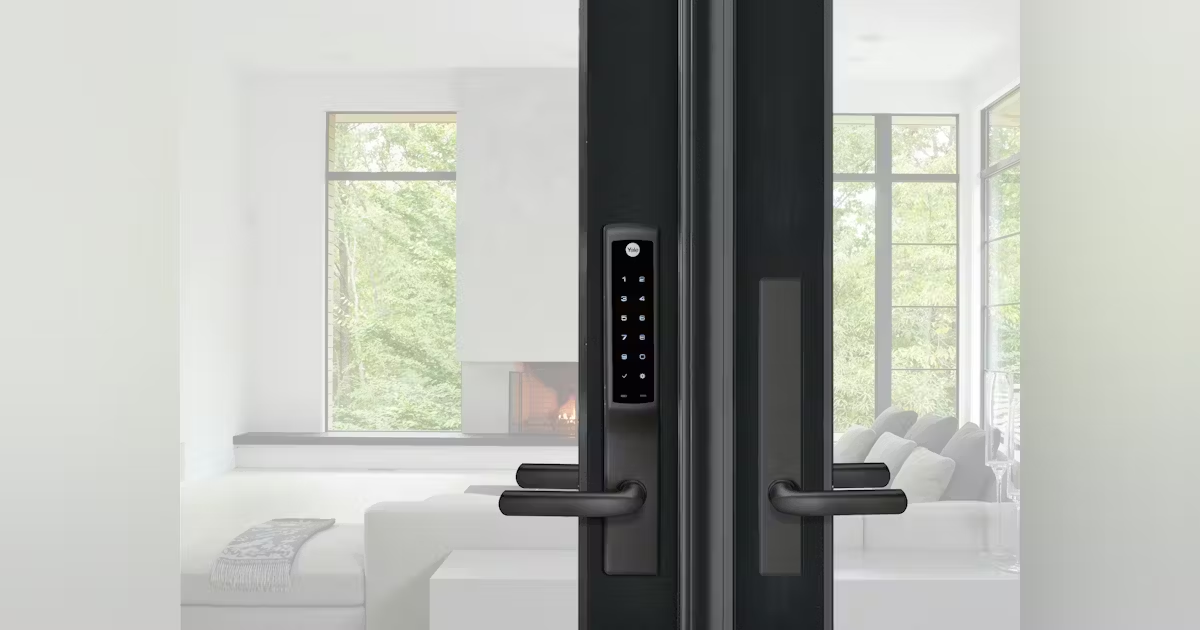
Next, install the door handles and locks on the sliding panels. Follow the manufacturer’s instructions for attaching these components. Most sliding doors have a handle on the interior side and a lock on the exterior. Install these parts securely to prevent future issues with opening or closing the doors.
8. Seal the Edges
Once the sliding patio doors are installed and moving smoothly, it’s time to seal the edges. Use caulk to seal any gaps around the door frame and the walls. This helps improve energy efficiency and prevents drafts. Make sure to smooth out the caulk to ensure a neat and clean finish.
9. Install the Trim
The final step in how to install sliding patio doors is to install the trim around the door. This trim will cover any gaps between the door frame and the wall, giving the installation a finished, polished look. Use a hammer and nails or a nail gun to attach the trim securely.
Tips for a Successful Installation
- Check the Weather: Install your sliding doors on a dry day. This ensures the caulk will set properly and you won’t have any issues with moisture during installation.
- Get Help: Sliding doors can be heavy and difficult to lift alone. It’s a good idea to have a friend or family member help you with the installation.
- Use High-Quality Materials: Choose durable and energy-efficient materials for the best results. This will help your sliding patio doors last longer and improve your home’s energy efficiency.
Conclusion: Installing Sliding Patio Doors Made Easy
In conclusion, learning how to install sliding patio doors can be a straightforward project with the right tools and instructions. By following these simple steps, you can replace or install your own sliding doors, saving money on installation costs and improving the energy efficiency of your home. Take your time, follow the guide carefully, and soon you’ll be enjoying your new sliding patio doors!


