Installing a door might seem difficult, but it’s easier than you think! With the right tools, techniques, and a little patience, you can learn how to install a door like a pro. Whether you’re upgrading your interior doors or replacing an exterior door, this guide will help you do it perfectly.
Tools You Need
Before you start, gather these tools to make the job easier:
- Measuring tape
- Screwdriver or drill
- Hammer
- Level
- Chisel
- Screws
- Door shims
Having everything ready will save you time and keep the process smooth.
Step 1: Measure the Door Frame
Take Accurate Measurements
To install a door like a pro, start by measuring the door frame. Use a measuring tape to check:
- The width of the opening
- The height of the frame
- The thickness of the wall
This step ensures you buy the right-sized door for your space.
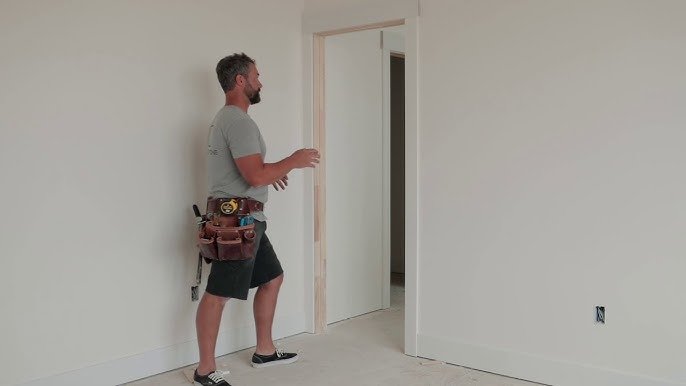
Step 2: Prepare the Door and Frame
Check the Door Fit
Place the door inside the frame to see if it fits properly. If it’s too large, you might need to trim it slightly.
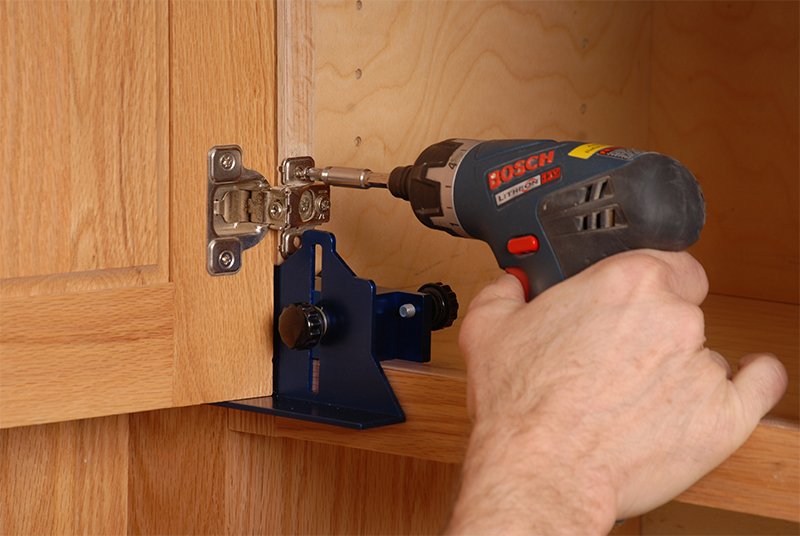
Install Hinges
Mark where the hinges will go on the door and the frame. Use a chisel to create shallow recesses for the hinges. Attach the hinges to the door with screws.
Step 3: Position the Door
Use Door Shims
Position the door in the frame and use shims to hold it steady. Shims help create an even gap between the door and the frame.
Check Alignment
Use a level to make sure the door is straight. Adjust the shims if needed to get the perfect alignment.
Step 4: Attach the Door
Secure the Hinges
Screw the hinges into the frame to attach the door securely. Start with the top hinge, then move to the middle and bottom hinges.
Test the Swing
Open and close the door to make sure it swings smoothly. Adjust the hinges or shims if needed.
Step 5: Install the Door Handle
Mark the Handle Position
Mark where you want the handle to go on the door. Use a drill to create holes for the handle and lock.
Attach the Handle
Install the handle and lock according to the manufacturer’s instructions. Test them to make sure they work properly.
Step 6: Finish the Installation
Remove Extra Shims
Carefully cut off any shims sticking out from the frame.
Add Trim
Install trim around the door frame for a clean and finished look. Secure it with nails or adhesive.
Tips for Professional Results
Use Quality Materials
Choose a sturdy door and reliable hardware to ensure long-lasting results.
Take Your Time
Don’t rush the installation. Taking your time will help you get the best outcome.
Double-Check Everything
Always double-check measurements, alignment, and fit before securing the door.
Troubleshooting Common Problems
Door Doesn’t Close Properly
Check if the hinges are aligned or if the frame is warped. Adjust as needed to fix the issue.
Gaps Around the Door
Use shims or weatherstripping to close gaps and create a snug fit.
Squeaky Hinges
Apply a little oil or lubricant to the hinges to eliminate squeaking.
Benefits of Learning to Install a Door
Save Money
Knowing how to install a door like a pro can save you the cost of hiring a professional.
Boost Home Value
Properly installed doors improve your home’s appearance and functionality.
Gain Confidence
Successfully completing a project like this can boost your DIY confidence.
Conclusion
Now that you know how to install a door like a pro, you can handle this task with ease! By following these simple steps and tips, your door will look and work perfectly. With the right tools and a little patience, you’ll achieve professional results in no time.