If your windows are old or damaged, replacing them can improve your home’s look and energy efficiency. Knowing how to install replacement windows yourself can save money and be a rewarding project. Let’s break the process into easy steps so you can handle it like a pro.
Why Replace Your Windows?
Improve Energy Efficiency
New windows help reduce energy bills by keeping your home warmer in winter and cooler in summer.
Enhance Curb Appeal
Replacement windows instantly make your home look more modern and attractive.
Fix Drafts and Leaks
Old windows can let air and water inside. Replacing them ensures better insulation.

Tools You’ll Need
Before you start, gather these essential tools:
- Measuring tape
- Screwdriver
- Utility knife
- Hammer
- Pry bar
- Level
- Caulking gun
Step 1: Measure the Window Opening
Get Accurate Measurements
Use a measuring tape to measure the height, width, and depth of the window opening. Take measurements in three places (top, middle, and bottom) to ensure accuracy.
Choose the Right Window Size
When buying your replacement windows, select a size that fits your measurements perfectly.
Step 2: Prepare the Area
Remove the Old Window
Use a screwdriver and pry bar to carefully remove the old window. Take out the sashes, frame, and any old caulk.
Clean the Opening
Remove dirt, debris, and old sealant from the window opening to ensure a smooth surface for installation.
Step 3: Dry Fit the New Window
Test the Fit
Place the replacement window into the opening to make sure it fits snugly. Adjust as needed before securing it.
Check for Gaps
Use a level to ensure the window is straight. Check for gaps around the edges, as these will need to be sealed later.
Step 4: Secure the Window
Attach the Window
Use screws to secure the window frame into the opening. Start with the top corners, then move to the sides and bottom.
Add Shims
Insert shims around the frame to keep the window level and sturdy. Cut off any excess shim material with a utility knife.
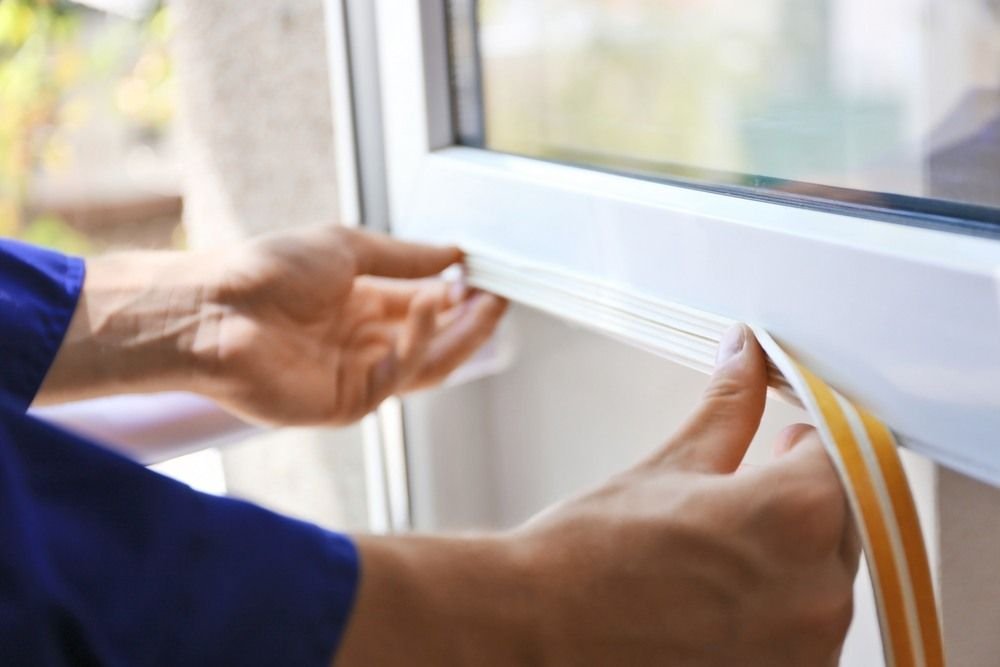
Step 5: Seal the Edges
Apply Caulk
Use a caulking gun to apply a waterproof sealant around the window frame. This prevents drafts and leaks.
Install Insulation
Add insulation foam or strips inside the frame to improve energy efficiency.
Step 6: Install Trim and Finishing Touches
Add Trim
Replace or install new interior and exterior trim around the window. This hides the edges and gives a clean look.
Paint or Stain
If needed, paint or stain the trim to match your home’s design.
Tips for a Successful Installation
Work with a Partner
Installing a window can be heavy work. Having someone to help will make the process faster and safer.
Double-Check Your Work
After securing the window, open and close it several times to ensure it operates smoothly.
Don’t Rush
Take your time to measure, secure, and seal the window properly. This will save you from future issues.
Benefits of Learning How to Install Replacement Windows
Save Money
Installing windows yourself can save hundreds of dollars on labor costs.
Gain Confidence
Completing this project gives you the skills to tackle other home improvements.
Immediate Results
Once the window is installed, you’ll notice a difference in comfort and appearance right away.
Common Mistakes to Avoid
Incorrect Measurements
Always double-check your measurements to avoid buying the wrong window size.
Skipping the Sealant
Without caulk, your window may leak air or water, reducing efficiency.
Not Checking the Level
If the window isn’t straight, it can cause problems when opening or closing.
Conclusion
Learning how to install replacement windows is a valuable skill that can save you time and money. By following these simple steps—measuring, preparing, securing, and sealing—you can transform your home with ease. Take your time, follow the guide, and enjoy the benefits of your new windows!