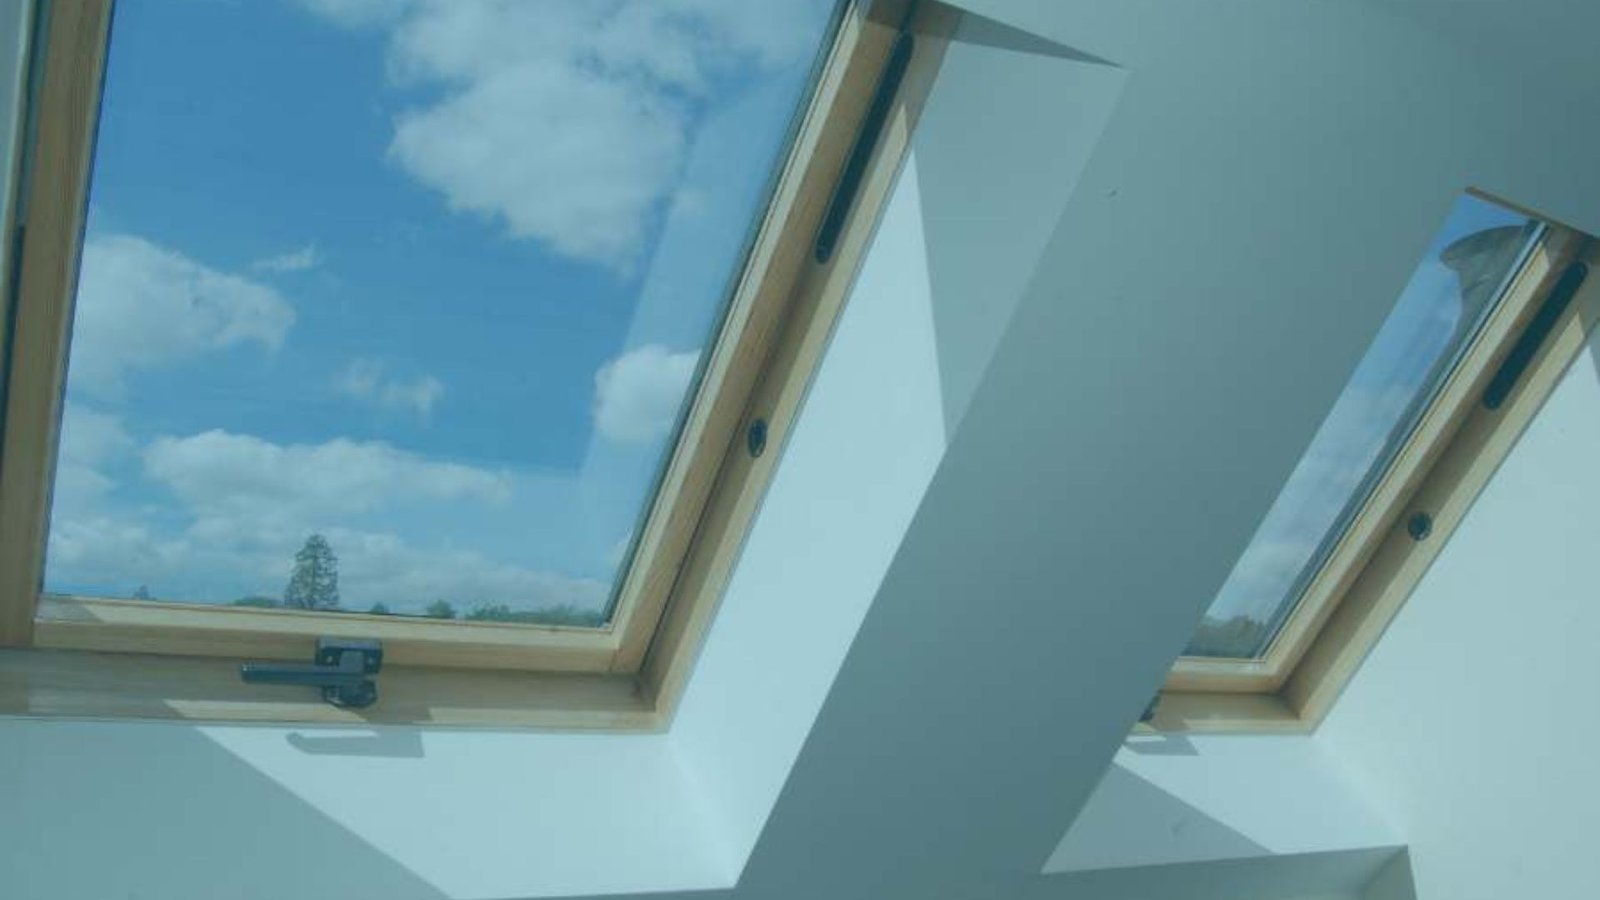
Installing a skylight window can transform a dull room into a bright and airy space. The extra natural light can make your home feel more welcoming and improve its overall ambiance. However, the process of installing a skylight window requires careful planning and execution. In this post, we’ll discuss the essential tips for successfully installing a skylight window in your home.
1. Choose the Right Location
The first step in installing a skylight window is to choose the right location. Think about where you want to let in natural light. Ideally, you should place the skylight in an area that doesn’t obstruct roof support structures. Check for any wiring, plumbing, or ductwork that may be in the way. A well-placed skylight will not only enhance light but can also improve ventilation.

2. Select the Right Type of Skylight
There are different types of skylights available, including fixed, vented, and tubular skylights. Fixed skylights are great for providing light without opening, while vented skylights can be opened for fresh air. Tubular skylights are perfect for smaller spaces as they channel light through a tube. Consider your needs and the space available to decide which type of skylight window is best for your home.
3. Measure Carefully
Before you start installing a skylight window, accurate measurements are crucial. Measure the width and length of the opening where you plan to install the skylight. Ensure your measurements are precise to avoid issues during installation. Remember that proper sizing will also contribute to the overall aesthetic of your ceiling and room.
4. Gather the Right Tools and Materials
Having the right tools and materials on hand will make the installation process smoother. You’ll need a saw, drill, measuring tape, level, roofing cement, flashing kit, and a ladder. Make sure you also have safety gear like gloves and goggles. Preparing your materials ahead of time can save you from delays during the installation process.
5. Follow the Manufacturer’s Instructions
Every skylight window comes with specific installation instructions from the manufacturer. It’s essential to read these instructions carefully before beginning. Following the guidelines will help ensure you install the skylight window correctly and avoid potential problems later on. Adhering to these instructions can also help maintain your warranty.
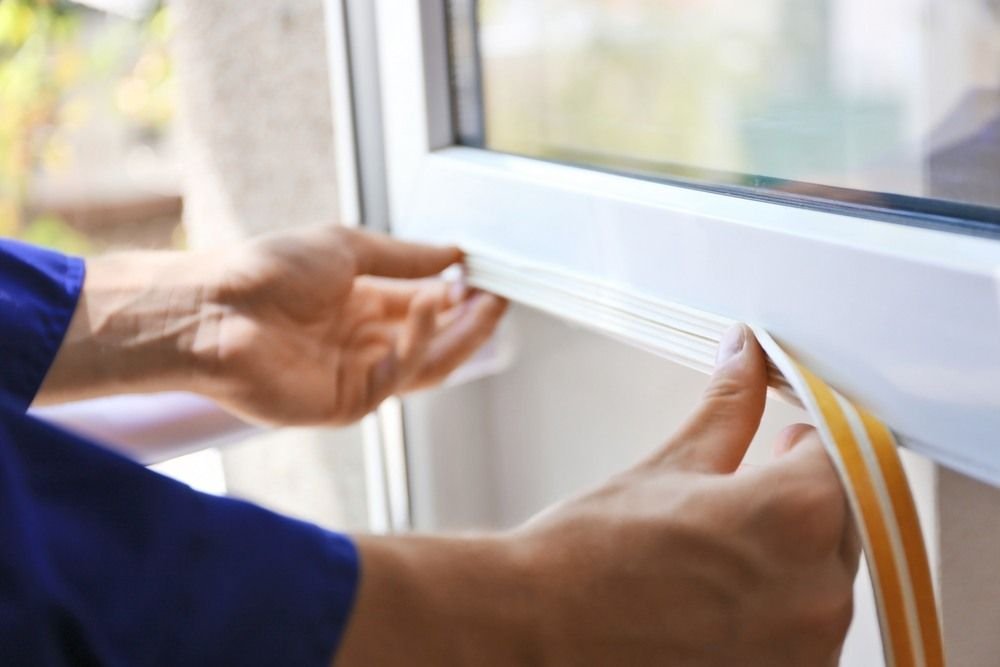
6. Ensure Proper Waterproofing
One of the most critical aspects of installing a skylight window is ensuring proper waterproofing. Use flashing tape and roofing cement to seal the skylight and prevent leaks. Pay special attention to the edges and corners of the skylight. A watertight seal will protect your home from water damage and mold growth in the future.
7. Install the Skylight Frame
Once you’ve prepared the area, it’s time to install the skylight frame. Cut the roof opening according to the measurements taken earlier, then position the frame into the opening. Use a level to make sure it is straight, adjusting as necessary. Secure the frame with screws, ensuring it’s tightly fitted into place.
8. Attach the Skylight
With the frame in place, it’s time to attach the skylight window. Depending on the type of skylight you’ve chosen, follow the specific installation steps outlined in the manual. Generally, you will place the skylight on top of the frame and secure it using screws or brackets. Ensure everything is aligned correctly before tightening the screws.
9. Finish the Installation
After the skylight window is secured, you can begin finishing the installation. Apply flashing around the edges to create a watertight seal. Then, cover any gaps with roofing cement and ensure all seams are sealed. This step is crucial to prevent leaks and maintain the integrity of your roof.
10. Clean Up and Inspect
Finally, once you’ve completed installing the skylight window, clean up any debris from your workspace. Inspect your work to ensure everything is secure and sealed correctly. Check for any signs of leaks or gaps. Once you’re satisfied with the installation, step back and enjoy the beautiful natural light flooding into your home.
Conclusion
Installing a skylight window can be a rewarding project that enhances your living space. By carefully choosing the right location, type, and following these tips, you can ensure a successful installation. Remember to take your time, measure accurately, and prioritize waterproofing to avoid future problems. With a little effort, you’ll enjoy the benefits of your new skylight window for years to come.